I’m sure you’ve seen those bloggers selling digital planners on their websites. They’re usually very pretty, full of color and fun — but also very expensive.
This makes you wonder if you can make one yourself instead. The answer is 💯 yes!
So, how to create a digital planner? Keep reading.
I’ve made a few digital planners myself over the past years for personal, school, and online work. Of course, they are not as glamorous as the ones you can buy online, but they can be just as useful.
This article is not about how to design a planner to look ✨aesthetically pleasing✨.
But rather about the steps you need to take in order to create a simple, yet effective digital planner. And exploring different online tools that can help you do so.
Before we get into the details, let’s quickly go over what a digital planner is.
Table of Contents
What is a Digital Planner?
A digital planner is a modern take on the traditional paper planner. Digital planners are usually hosted through an app or software that allows you to organize your tasks, events, and notes online.
3 Types of Digital Planners
There are several different types of digital planners available. The most common types include:
- Notebook-based planners imitate a traditional notebook and offer the ability to create new pages and sections to organize content.
- Calendar-based planners provide a visual layout of the month or week and encourage you to think in terms of time blocks.
- Task-based planners operate mainly as digital to-do lists and are perfect if you live and die by checklists. These planners prioritize tasks and issue alerts when there are upcoming deadlines.
How to Create a Digital Planner?
1) Plan your digital planner
a) Decide on format
First things first, you need to choose the format that matches your planning needs.
With options like yearly, monthly, weekly, and daily views, each format serves a specific purpose. Choosing the right one that syncs with your planning preferences is key.
b) Decide on size and orientation
Consider the size and orientation that best fits your workflow and screen.
Choose from standard sizes like A4, A5, or letter size, and decide between landscape or portrait orientation that makes navigation through your digital planner effortless.
c) Decide on dated or undated digital planner
Determine whether you want a dated or undated digital planner. Dated planners come with pre-filled dates, providing structure and convenience.
If you’re looking for flexibility, undated planners offer you the opportunity to start planning at any time without wasting pages.
d) Decide on Planner Contents
Choose what elements to include in your digital planner to optimize productivity.
Consider these popular additions:
- To-Do Lists: Organize tasks and set priorities to stay focused and accomplish your goals efficiently.
- Habit Tracker: Monitor daily routines and habits to build positive behaviors and track progress.
- Goal Setting Pages: Set clear and achievable goals, break them down into actionable steps, and track your progress.
- Note-Taking Sections: Jot down ideas, meeting notes, or any relevant information to keep everything in one place.
- Calendars and Event Tracking: Mark important dates, appointments, and events to manage your schedule effectively.
- Time Blocking or Scheduling: Allocate specific time blocks for tasks to maximize productivity and avoid overcommitment.
- Expense Tracking: Keep an eye on your finances and track expenses to maintain a balanced budget.
2) Decide which tools to use
The next step is to decide which platform you want to use. The following are the popular options:
a) Using Canva
Canva is a versatile graphic design tool that offers a user-friendly interface and a wide range of templates.
When using Canva to create digital planners, you have two options:
- Use a blank canvas and design your own planner
- Use a premade template and customize it to your needs.
Option 1: Blank Canvas
So I made a short video below on how to create a digital calendar using Canva. Of course, you can make a much more functional and beautiful planner design.
This video is just a very simple demonstration.
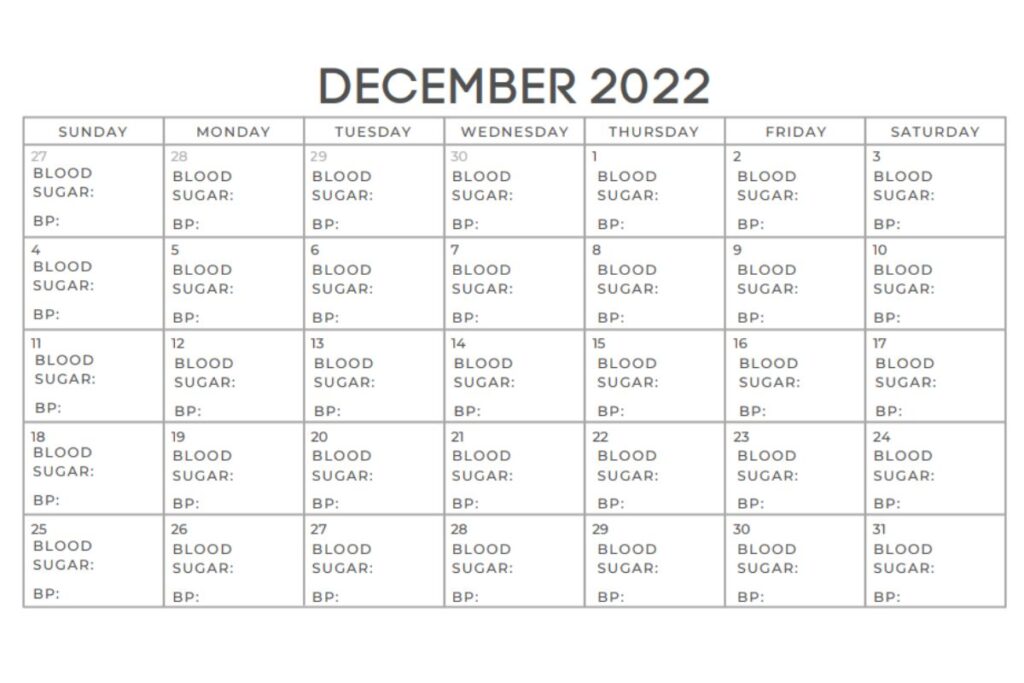
An example of a digital planner made on Canva is this Blood Sugar and BP tracker I made for my grandma last December.
Option 2: Using Templates
If you want a digital planner that’s already pre-designed and ready to use, Canva has some great templates available. Just type planner on the search bar and you’ll get tons of template designs.
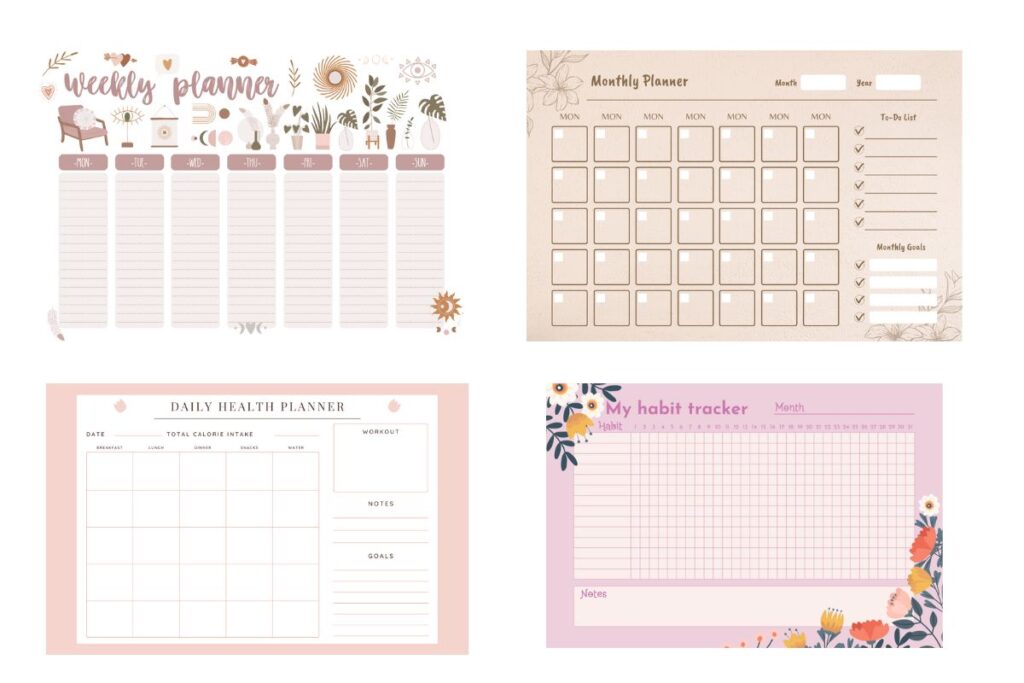
Here are some digital planner templates that I found:
b) Using a document editor
Common document editors like Microsoft Word, Google Docs, or Apple Pages are simple yet effective tools for creating a digital planner.
Here’s what you can do:
- Create tables and customize the layout to structure your planner.
- Incorporate sections like calendars, to-do lists, and notes to keep everything organized.
c) Using spreadsheets
Applications like Microsoft Excel or Google Sheets are perfect for a more data-driven and organized digital planner.
You can design your planner with cells for different days, weeks, or months, and use formulas for automatic calculations.
Consider these benefits:
- Design your planner using cells for different days, weeks, or months.
- Utilize formulas for automatic calculations to streamline your planning.
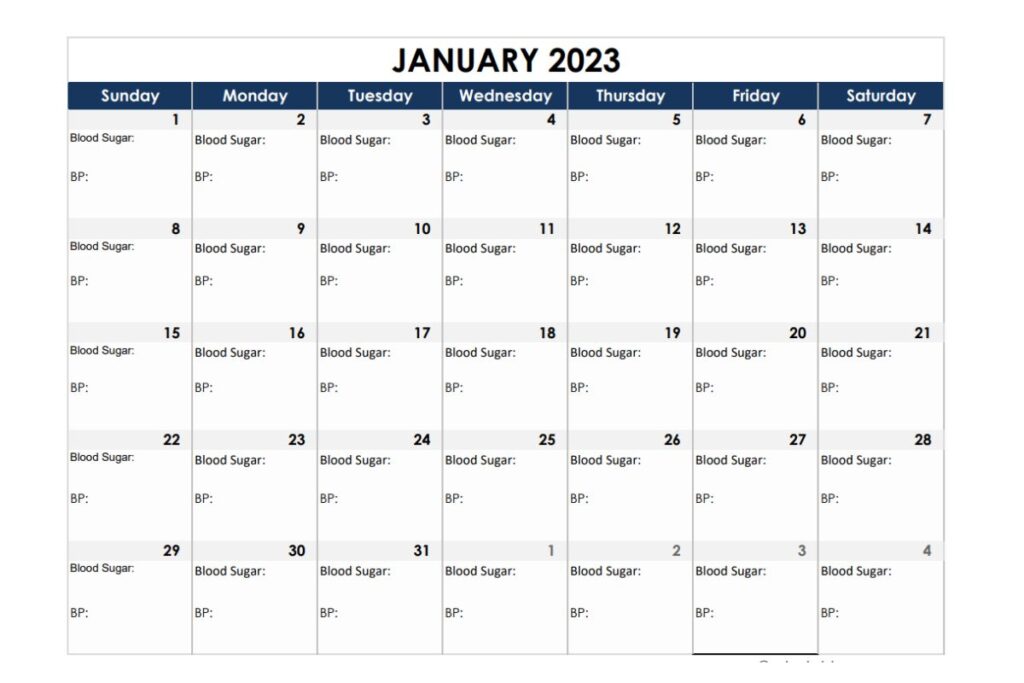
I also made Blood Sugar and BP tracker for my grandma on a spreadsheet like the one I made in Canva.
d) Using a presentation program
While primarily designed for creating slideshows, programs like Microsoft PowerPoint, Keynote or Google Slides are perfect for creating interactive digital planners.
Consider the benefits:
- Customize each slide to accommodate various planner sections and designs.
- Enjoy the flexibility of creating a unique and visually appealing digital planner.
Honestly, I never thought that we could use presentation programs to create digital planners. But upon looking into it, many people are doing it, and they look really good.
I found this tutorial by Ishani Sunil on Youtube that teaches you how to create a digital planner using PowerPoint.
3) Duplicate the pages
Once you’ve designed your digital planner’s main layout, it’s time to duplicate the pages to cover your desired timeframe. Consider options such as weekly, monthly, or daily pages.
Duplicating pages offers benefits such as:
- Saving time and effort while ensuring consistency throughout your planner.
- Most digital planning tools provide easy options for duplicating pages using copy-and-paste or specific functions within the software.
4) Add Hyperlinks
Make your digital planner interactive and user-friendly by incorporating hyperlinks.
Here’s how hyperlinks can enhance your planning experience:
- Link relevant sections together to promote easy navigation, such as connecting the monthly overview to individual daily pages or tasks to their respective details or notes.
- Hyperlinks enable you to swiftly access specific sections, boosting productivity.
5) Save and export your work
After completing your digital planner, it’s crucial to save your progress regularly to avoid losing any changes.
Consider the following steps:
- Use the saving options available in the tool you used to create your planner. This may include saving to the cloud, local storage, or exporting the file in different formats (PDF, JPEG, etc.).
- For seamless access across multiple devices, consider saving your planner to a cloud-based service like Google Drive, OneDrive, or Dropbox. This ensures easy access and synchronization.
By following these steps, you’ll have a fully functional digital planner that helps manage your schedule effectively.
How To Create A Digital Planner To Sell?
Yes, you read that right. You can actually create a digital planner and sell it.
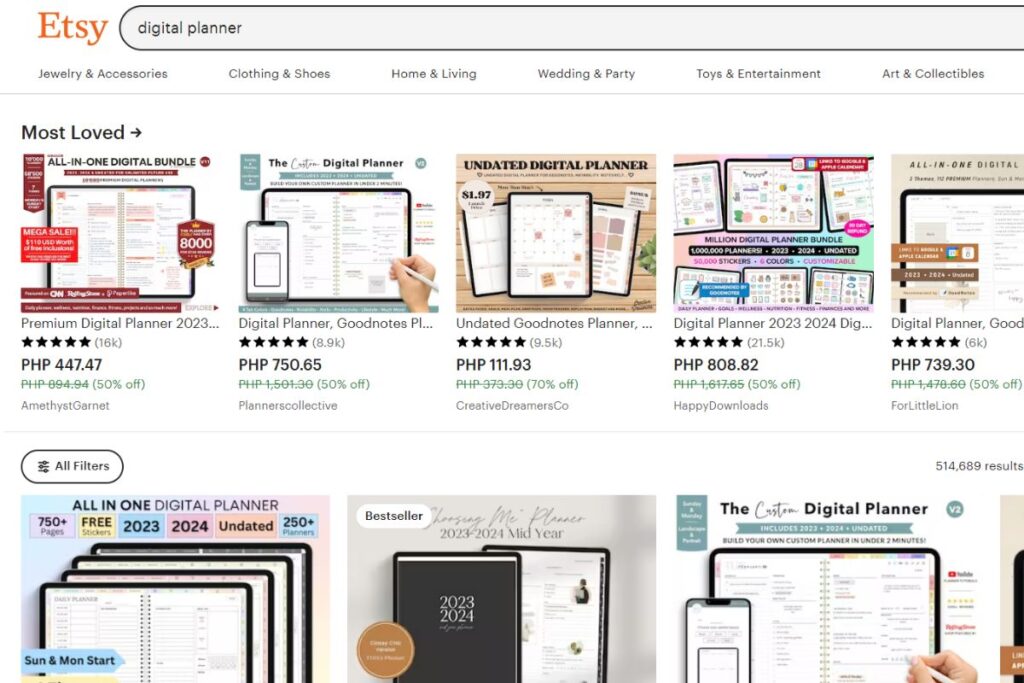
If you go to Etsy, you’ll see that many people are selling their digital planners.
But before you go ahead and start creating a digital planner, you need to know how to do it right.
Here are some steps you can follow to create a digital planner to sell:
Identify Your Target Audience
Before you begin creating a digital planner to sell, it’s essential to identify your target audience.
Understand their needs, preferences, and pain points when it comes to digital planning and productivity. Tailor your digital planner’s features and design to cater to their specific requirements.
Choose the Right Tools and Software
Selecting the suitable tools and software is crucial in creating your digital planner.
You can choose from popular options such as graphic design software like Adobe Illustrator or Canva, presentation software like PowerPoint or Keynote, or specialized planner apps.
Make sure the tools you choose align with your skills and requirements, allowing you to create a professional and user-friendly product.
Design an Attractive and Functional Layout
Create an aesthetically pleasing and easy-to-navigate layout for your digital planner. Consider including various sections like calendars, goal trackers, to-do lists, habit trackers, and note-taking areas.
Remember to focus on enhancing digital productivity and organization while offering a delightful user experience.
Add Interactive Elements
Make your digital planner engaging and interactive by incorporating hyperlinks, clickable buttons, and dropdown menus. These interactive features will improve usability and efficiency, setting your digital planner apart from simple PDFs.
Test and Refine Your Digital Planner
Before you start selling your digital planner, it’s important to thoroughly test it on different devices and platforms.
Ensure that it functions flawlessly and gather feedback from beta testers or potential customers. Use their insights to refine and improve your digital planner further.
Protect Your Intellectual Property
To protect your work, consider adding copyright notices and terms of use to your digital planner. If you plan to sell your planner on third-party platforms, research their policies on intellectual property rights and licensing.
Choose the Right Selling Platform
Select an appropriate platform to sell your digital planner.
You have options such as selling it on your website, online marketplaces like Etsy or Gumroad, or digital product platforms like Teachable or Podia.
Assess the platform’s fees, features, and audience reach before making a decision.
Market Your Digital Planner Effectively
Create a compelling marketing strategy to promote your digital planner. Utilize social media, content marketing, email newsletters, and collaborations to reach your target audience and drive sales.
How To Create A Digital Planner (FAQs)
How to make a digital planner on Canva?
Canva is a great tool for creating digital planners due to its user-friendly interface. You can start from scratch with a blank canvas or use pre-designed templates, Canva provides both options. With its vast library of customization features, you can easily design visually appealing and functional planners that meet your specific needs.
How to start a digital planner business?
To start a digital planner business, you need to create an appealing and functional product first. Use suitable software to design the planner, either with templates or from scratch. After completion, publish it for approval on platforms like Etsy, and begin selling your digital planners.
How to make a digital journal on Canva?
Canva is an easy-to-use design tool that makes it simple to create a digital journal or planner. You can use Canva to:
• Create your own design from scratch
• Customize existing templates
• Use our drag-and-drop editor to add text, images, fonts, icons, and more
What program do you use to make a digital planner?
There are several programs you can use to make a digital planner. Popular options include:
• Graphic design software like Adobe Illustrator or Canva.
• Presentation software like PowerPoint or Keynote.
• Planner apps like GoodNotes or Noteshelf.
• Document programs like Google Sheets and MS Word.
• Spreadsheets line MS Excel and Google Sheets.
How do I create my own planner?
You can create a digital planner from scratch or use a template. There are many tools available to help you create your own planner, including Canva, Microsoft Word and Google Sheets.
What to do next?
Digital planners are indeed a modern take on the traditional planner, but better.
So why not try it out? The world has changed and so should you.
You can create a digital planner for yourself or sell it. It can be a great way to make some extra money.
But first, you need to create your own planner and this article will help you do just that.
Hey! If you found this post useful, check out these productivity tips and tools, too:
